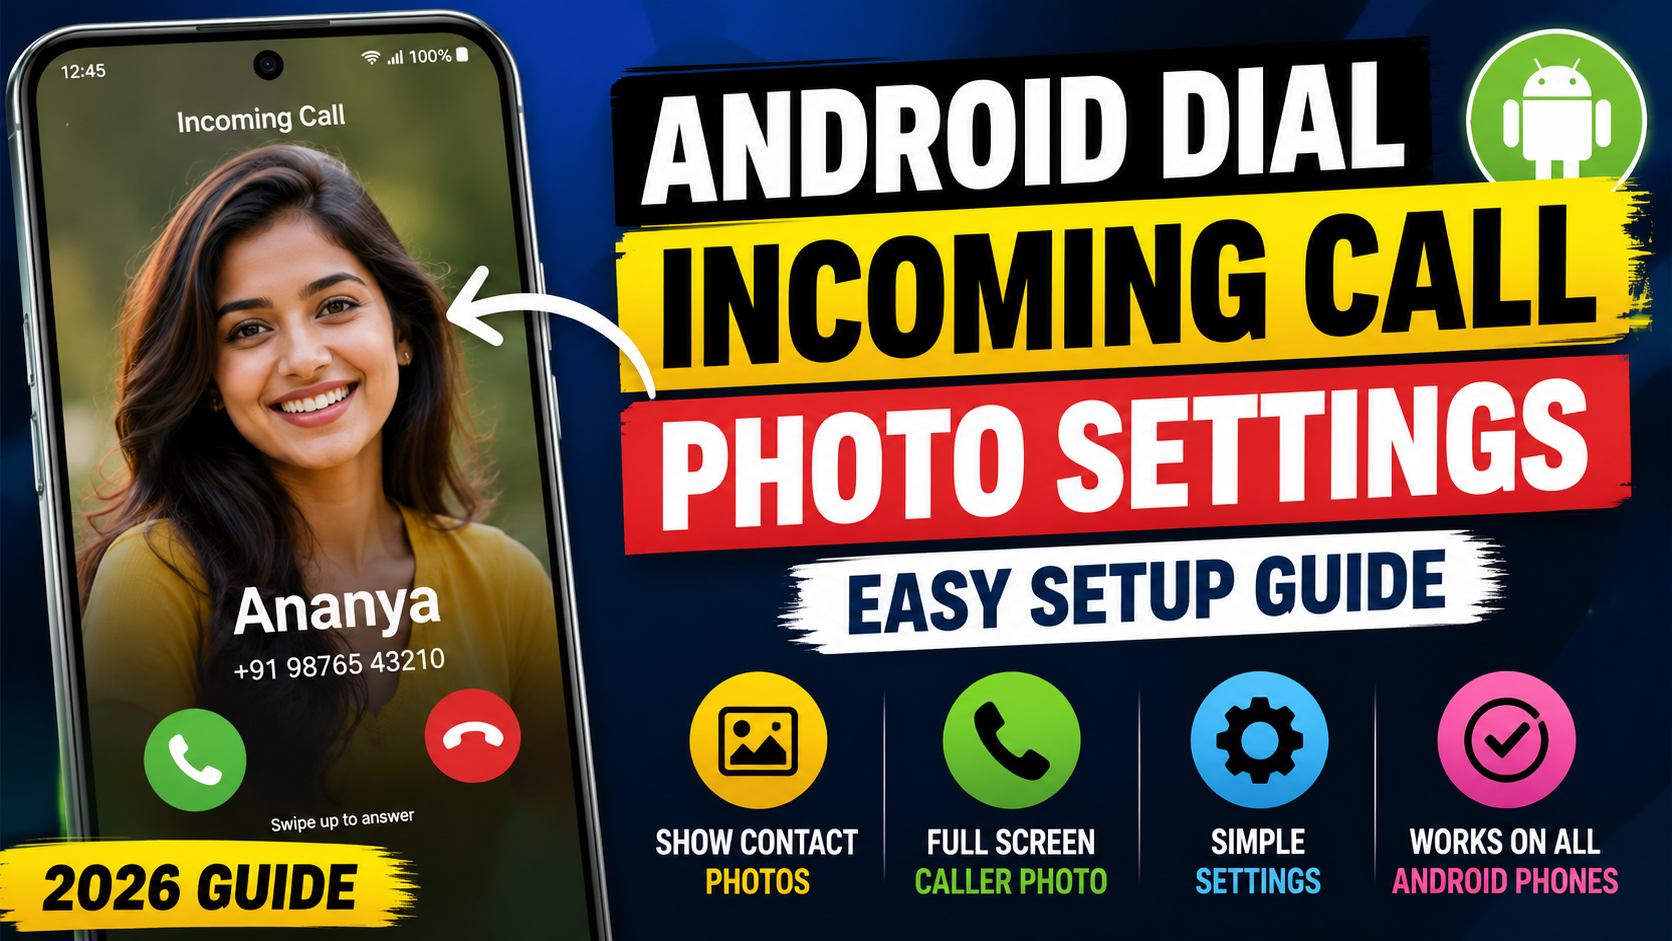
Android smartphones have a lot of customization options for users to personalize their smartphones. A nifty one is when it shows a picture of the person on screen during incoming calls. At a glance, the photo of the caller flashes up on the screen when called, making it easier to identify the individual. This facility will also make the calling more attractive and personal.
Many Android users don’t know how to configure the photos of their contacts so that they can view their caller’s picture when they call. You will learn everything about the dial incoming call photo settings, add contact photos, enable full screen caller images and troubleshoot common issues with it in this guide.
What is Incoming Call Photo Display?
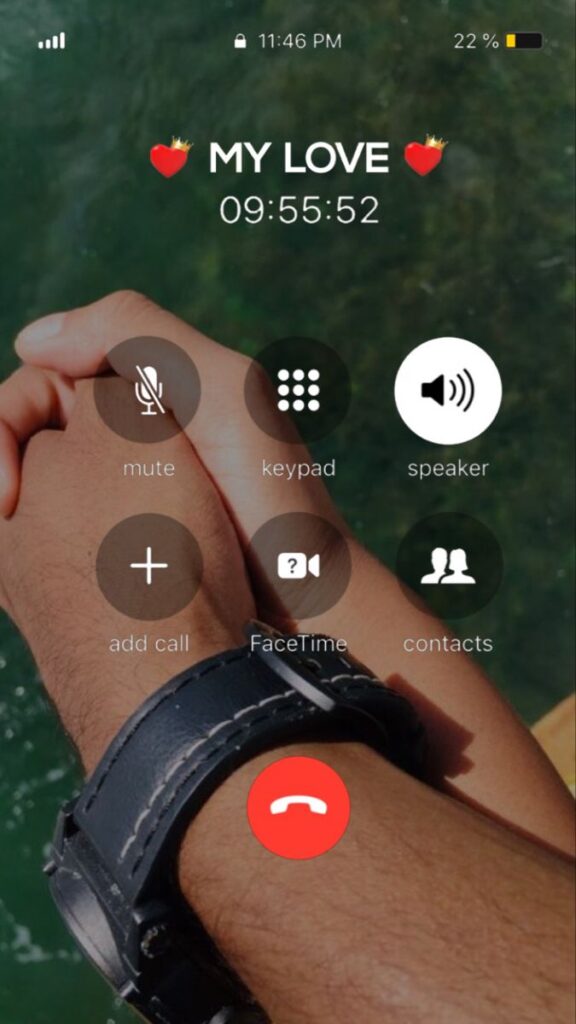
Incoming Call Photo Display is a feature that shows a saved contact image whenever that person calls you. Instead of seeing only the contact name and number, you will see the person’s photo on the incoming call screen.This feature helps users quickly recognize callers, especially when they receive multiple calls throughout the day. It also adds a personalized touch to the phone’s dialer experience.
Benefits of Using Contact Photos for Incoming Calls
There are several advantages to setting contact photos for incoming calls:
Easy Caller Identification
A contact photo allows you to recognize the caller instantly without reading the name or number.
Better User Experience
Seeing a familiar face during incoming calls makes the phone feel more personal and enjoyable.
Helpful for Family Members
Older adults and children can identify callers more easily through photos than by reading names.
Professional Contact Management
Businesses and professionals can organize contacts better by assigning profile pictures to important clients and colleagues.
How to Add a Contact Photo on Android
Adding a photo to a contact is simple and takes only a few minutes.
Step 1: Open the Contacts App
Launch the Contacts application on your Android smartphone.
Step 2: Select a Contact
Find and tap the contact for whom you want to add a photo.
Step 3: Edit Contact
Tap the Edit button, usually represented by a pencil icon.
Step 4: Add Photo
Tap the camera or photo icon and choose an image from your gallery.
Step 5: Save Changes
Adjust the image if needed and tap Save.
The selected contact will now have a profile photo associated with their phone number.
How to Enable Full-Screen Caller Photo
Some Android devices support full-screen caller photos. This means the caller’s image fills most of the incoming call screen.
Open Phone Settings
Launch the Phone or Dialer app.
Access Caller Settings
Tap the menu icon and open Settings.
Find Caller Display Options
Look for options such as:
- Caller ID Photo
- Full Screen Caller Photo
- Incoming Call Display
- Contact Picture Display
Enable the Feature
Turn on the full-screen caller photo option if available.Different smartphone brands may use different names for this setting.
Incoming Call Photo Settings on Samsung Phones
Samsung devices offer excellent contact photo support.
Steps for Samsung Users
- Open Contacts.
- Select a contact.
- Tap Edit.
- Add a photo from Gallery.
- Save changes.
Incoming Call Photo Settings on Xiaomi Phones
Setup Process
- Open Contacts.
- Choose a contact.
- Tap Edit.
- Add a photo.
- Save the contact.
Incoming Call Photo Settings on Realme Phones
Realme devices provide a simple interface for contact photo management.
Easy Setup
- Open Contacts.
- Select the desired contact.
- Tap Edit.
- Add a profile image.
- Save.
Incoming Call Photo Settings on Vivo Phones
Vivo smartphones support contact images through their default dialer application.
Steps
- Open Contacts.
- Edit a contact.
- Choose a photo.
- Save changes.
Incoming calls from that contact will display the assigned image.
Incoming Call Photo Settings on Oppo Phones
Oppo smartphones allow users to personalize contacts with photos easily.
Quick Setup
- Open Contacts.
- Select a contact.
- Tap Edit.
- Add a gallery image.
- Save.
Why Contact Photos Sometimes Do Not Appear
Several factors can cause this issue.
Syncing Problems
Google account synchronization may replace or remove contact photos.
Low-Resolution Images
Poor-quality images may not display properly on the caller screen.
Dialer App Restrictions
Some dialer apps do not support full-screen caller images.
Software Bugs
Temporary software issues can prevent caller photos from appearing correctly.
How to Fix Missing Incoming Call Photos
Refresh Contact Sync
Go to Settings and manually sync your Google account.
Reassign the Photo
Remove the contact image and add it again.
Update the Phone App
Install the latest version of the dialer application.
Restart Your Device
A simple restart often resolves temporary display issues.
Clear Dialer Cache
Navigate to:
Settings → Apps → Phone → Storage → Clear Cache
Best Practices for Contact Photos
To achieve the best results, follow these recommendations.
Use High-Quality Images
Choose clear and sharp photos.
Use Face-Centered Images
Photos where the person’s face is clearly visible work best.
Avoid Group Photos
Single-person images improve caller identification.
Keep Photos Updated
Update contact photos regularly for accurate recognition.
Third-Party Apps for Full-Screen Caller Photos
Some users want larger and more customizable caller images. Several apps provide enhanced caller photo functionality.
Popular features include:
- Full-screen caller photos
- Animated call screens
- Custom call themes
- Personalized caller backgrounds
Privacy Considerations
Use Trusted Sources
Only use images from trusted sources or your own gallery.
Review App Permissions
Avoid apps that request unnecessary permissions.
Secure Your Contacts
Keep your contacts backed up and protected through your Google account or cloud services.
Advantages of Full-Screen Caller Photos
Full-screen caller images offer several improvements over standard caller displays.
Faster Recognition
You can identify callers immediately without reading text.
Better Accessibility
Users with vision difficulties can recognize callers more easily.
Modern Appearance
The phone interface looks more attractive and professional.
Enhanced Personalization
Your smartphone becomes more customized to your preferences.
Common Mistakes to Avoid
Using Blurry Images
Low-quality photos reduce caller recognition.
Saving Photos Incorrectly
Always confirm that changes are saved successfully.
Ignoring Software Updates
Outdated software may cause compatibility issues.
Using Unsupported Dialers
Some third-party dialers do not support caller photo features properly.
Download App
Conclusion
Android Dial Incoming Call Photo Settings is a simple means of customizing your smartphone experience. Photos can be assigned to contacts so that you can easily recognize calls by their picture and have a more attractive call screen. This feature is supported by most Android phones such as Samsung, Xiaomi, Vivo, Oppo, and Realme, and requires little setup.