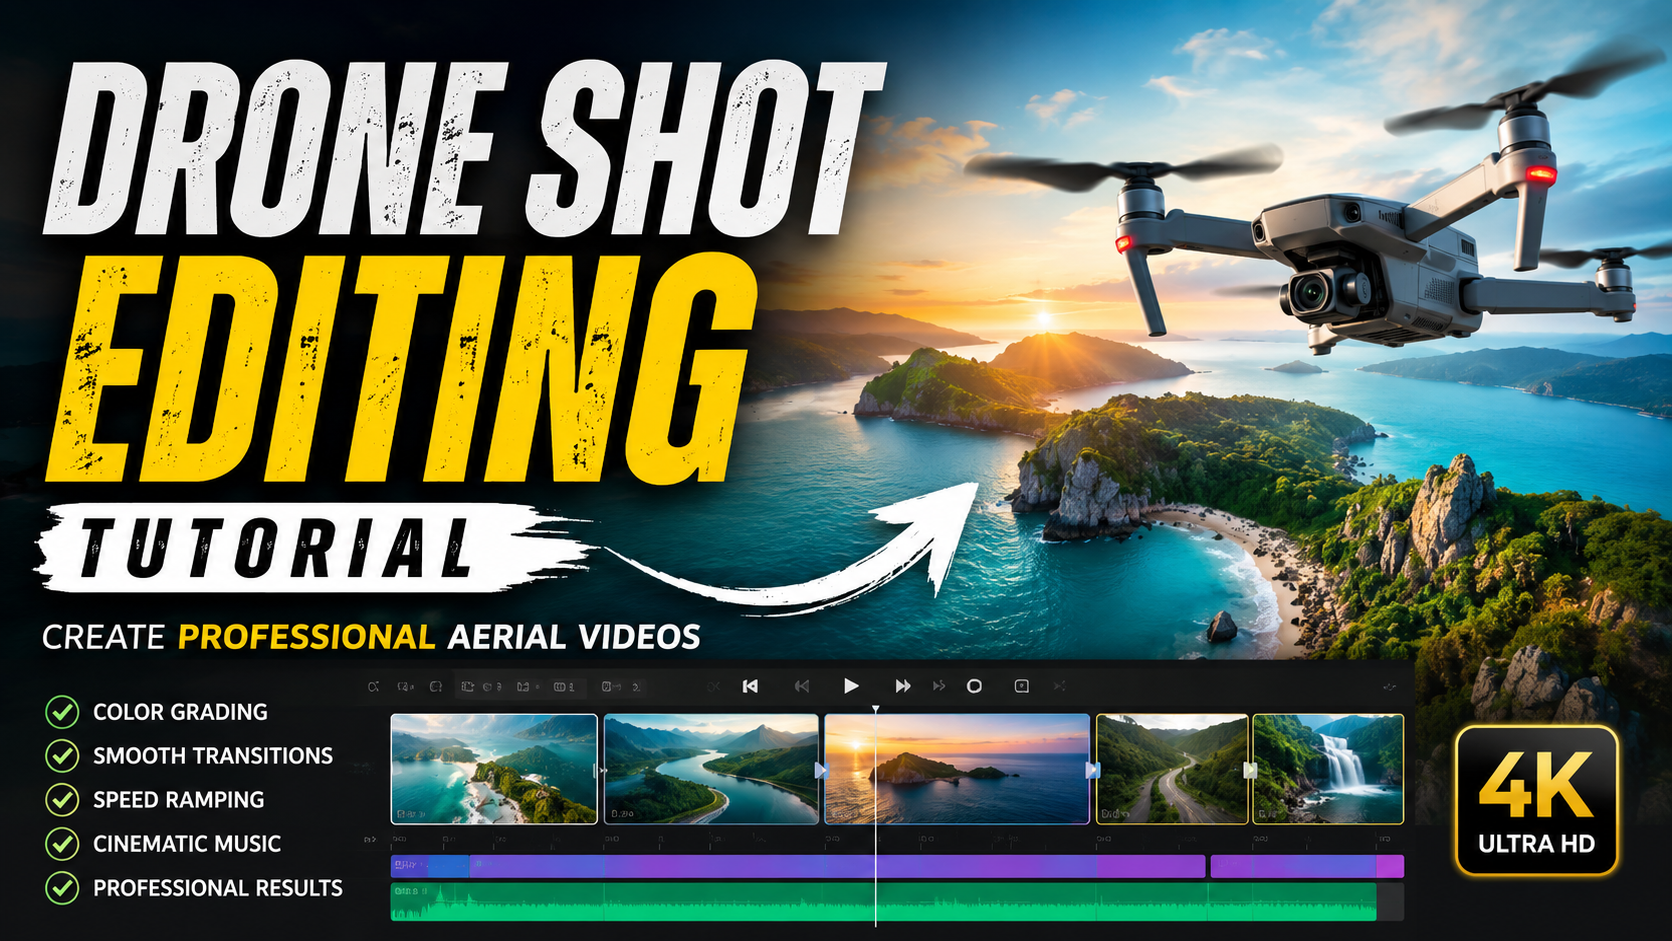
An ordinary video can be turned by drone footwork into a cinematic experience. The aerial view of wide landscapes, moving vehicles, beaches, mountains, buildings, and city views can be breathtaking. But it’s not enough to simply record good drone footage. Professional editing is what transforms basic aerial videos into enjoyable, flowing and cinema-like videos.
Thank you for reading this post, don't forget to subscribe!In this Drone Shot Editing Tutorial we will learn what to select for your drone shots, how to color correct and add music, transitions, speed, sound design and cinematic effects to the sections of your footage. These methods can be employed by novice and advanced video makers.
What Is Drone Shot Editing?
Drone shot editing is the process of improving and combining aerial footage recorded using a drone. Raw drone clips often contain unnecessary sections, camera movements, exposure changes, or unwanted distractions. Editing helps remove these problems and creates a story from the footage.
A professional drone video usually combines multiple aerial shots with suitable music, color grading, transitions, text, and sound effects. The goal is not simply to show everything recorded by the drone. Instead, the editor selects the strongest moments and arranges them in a way that keeps viewers interested.
Choose the Best Drone Footage
Prior to editing, all of your drone footage should be organized. Copy the original footage to your computer or storage media and make separate folders for various shooting sessions or locations.
Play all videos and mark the best parts. Check for smooth movements, interesting compositions, beautiful lighting, and not being able to see what is being captured. Try to not have lengthy portions where the drone is just hanging in place.
Short shots can be extremely impressive when taken from the air. For social media videos, brief and concise videos are sometimes more effective.
Organize Your Video Project
Good organization can save a lot of editing time. Create folders for video clips, music, sound effects, graphics, logos, and exported videos.
You can also rename important clips according to their content. For example, you might use names such as “Beach_Wide_Shot,” “Road_Follow,” or “Temple_Orbit.” This makes it easier to find the footage you need during editing.
If you have recorded footage in different locations, create separate folders for each location. A well-organized project becomes especially useful when working on large travel videos or professional projects.
Select the Right Video Editing Software
There are many editing applications available for drone footage. Beginners can start with simple mobile editors, while advanced creators can use professional desktop software.
Popular options include Adobe Premiere Pro, DaVinci Resolve, Final Cut Pro, and other professional editing applications.
Choose software based on your experience, device performance, and editing requirements. For basic Instagram Reels or YouTube Shorts, a mobile editor may be enough. For advanced color grading, sound design, and professional projects, desktop software provides more control.
Create the Correct Timeline
Before importing your clips, decide the final video format. For YouTube landscape videos, a 16:9 timeline is commonly used. For Instagram Reels, YouTube Shorts, and TikTok videos, a 9:16 vertical format is generally suitable.
For example, if your drone footage is recorded horizontally but you want to create a vertical Reel, carefully position the footage so that the main subject remains visible.
The frame rate should also match your project. If your footage was recorded at 30 frames per second, you can create a 30 FPS timeline for normal playback. Footage recorded at higher frame rates can be useful for smooth slow-motion effects.
Trim Unnecessary Parts
One of the most important editing techniques is trimming. Raw drone footage can contain several seconds of preparation before the actual shot begins.
Remove sections where the drone is taking off, stopping, changing direction unnecessarily, or returning to the starting position unless they are important to the story.
Keep the strongest portion of every shot. A professional editor should always ask whether a particular section adds value to the video.
Shorter clips can also help maintain viewer attention, especially on social media platforms.
Build a Story With Aerial Shots
A professional drone video should have a visual flow. Instead of randomly placing beautiful clips on the timeline, arrange them to create a simple story.
You can start with a wide establishing shot that introduces the location. Follow it with a closer aerial shot showing an important subject. Then use moving shots to create energy before finishing with another impressive wide view.
For example, a travel video could begin with a high-altitude landscape shot, move toward a road, follow a vehicle, reveal a waterfall, and end with a sunset shot.
This type of structure makes the video feel intentional rather than like a collection of random drone clips.
Use Smooth Transitions
Drone videos usually benefit from simple transitions. A clean cut is often enough when two shots have similar movement or composition.
You can also use fades, dissolves, zoom transitions, and motion-based transitions when appropriate. However, using too many flashy transitions can make an aerial video look less professional.
Try matching the movement between two shots. If one clip moves from left to right, cutting to another clip with similar movement can create a smooth visual connection.
Add Speed Ramping
Speed ramping is a popular technique for cinematic drone editing. It involves changing the speed of a clip during playback.
For example, you can start a shot at normal speed, gradually slow it down while the drone approaches an important subject, and then return to normal speed.
This technique works particularly well with high-frame-rate footage. Slow motion can emphasize waterfalls, waves, vehicles, people, or dramatic landscape reveals.
Avoid making every shot slow motion. Speed changes are more effective when used selectively.
Improve Stabilization
Even experienced drone pilots can produce footage with small shakes or unwanted movements. Stabilization tools can help make footage smoother.
Most professional editing software includes stabilization features. Apply stabilization carefully because excessive stabilization can crop the image or create unnatural movement.
If a clip already looks smooth, additional stabilization may not be necessary. Sometimes the natural movement of the drone contributes to the cinematic feeling.
Correct Exposure and White Balance
Drone cameras can capture difficult lighting conditions, especially during sunrise, sunset, or when moving between bright and dark areas.
Start the color correction process by adjusting exposure. Make sure important details are visible without making the image excessively bright or dark.
Next, correct the white balance. If the footage looks too blue or too orange, adjust the temperature until the colors appear natural.
Contrast, highlights, shadows, whites, and blacks can then be adjusted to create a balanced image.
Use Cinematic Color Grading
Color grading can dramatically change the appearance of drone footage. After basic correction, you can create a specific visual style.
Travel videos often look attractive with natural and vibrant colors. Adventure videos may benefit from stronger contrast. Sunset footage can be enhanced with warm tones, while mountain scenes may look better with slightly cooler colors.
If your drone records in a flat or log-style color profile, you may have more flexibility during color grading. Apply the appropriate conversion or correction first, then make creative adjustments.
Avoid excessive saturation. Professional footage usually has controlled colors rather than extremely bright and unrealistic tones.
Match Different Drone Clips
One common problem with aerial videos is inconsistent color. One clip might look warm while another appears cool. Exposure can also change between shots.
Use color correction to make the clips visually consistent before applying creative color grading.
Compare neighboring clips on the timeline and adjust them so that brightness, contrast, and color temperature feel similar. This creates a more professional final result.
Add Cinematic Music
Music plays an important role in drone videos. Choose a track that matches the mood and movement of the footage.
Slow cinematic music works well for landscapes, mountains, beaches, and emotional travel sequences. Faster music can be suitable for action, city, sports, or adventure footage.
Try cutting your clips according to the rhythm of the music. Major visual changes can happen on strong beats or musical transitions.
Always make sure you have the appropriate rights to use the music, especially when publishing videos commercially or on social media.
Use Sound Effects
Drone footage often becomes more immersive when sound effects are added.
You can use wind sounds, waves, birds, vehicles, city ambience, water sounds, or cinematic impact effects depending on the scene.
Even though the footage was recorded from a drone, adding carefully selected environmental sounds can make the viewer feel more connected to the location.
Keep sound effects subtle. They should support the visuals rather than overpower the music.
Add Text and Titles
Titles can be useful for travel videos, location guides, documentaries, and promotional content.
Keep text simple and readable. You can introduce the location at the beginning or display short information during specific shots.
Use consistent fonts, sizes, and animation styles throughout the video. Avoid filling the screen with too much information because aerial footage should remain the main visual focus.
Use Masking and Creative Effects
Advanced editors can use masking to create interesting effects. For example, a title can appear behind a building, mountain, or other object in the footage.
You can also combine multiple aerial clips, create speed effects, or use motion tracking for advanced compositions.
These techniques can make a video visually impressive, but they should have a purpose. Professional editing is usually about enhancing the footage rather than covering it with effects.
Create a Cinematic Intro
The first few seconds are extremely important, especially for social media and YouTube.
Start with your strongest drone shot or a quick sequence of visually impressive clips. Avoid spending too much time on logos or long introductions.
A dramatic reveal, smooth flyover, mountain landscape, city skyline, or coastal shot can immediately capture attention.
The opening should tell viewers what kind of experience they are about to watch.
Create a Strong Ending
The ending should feel natural. You can finish with a wide landscape shot, sunset, drone pull-away, location title, or simple fade-out.
A pull-away shot is especially effective because it creates a feeling of distance and closure.
If you are creating content for a brand or YouTube channel, you can add a short logo animation at the end without making it too long.
Export Your Final Drone Video
After finishing the edit, watch the entire video before exporting. Check for unwanted cuts, audio problems, exposure changes, spelling mistakes, and sudden transitions.
Export settings depend on where you plan to publish the video. For most online platforms, MP4 with H.264 or H.265 encoding is commonly used.
For YouTube, a high-quality 1080p or 4K export can be suitable depending on the original footage. For Instagram Reels and Shorts, make sure the video is formatted correctly for vertical viewing.
Always keep a high-quality master copy of your final project before creating compressed versions for different platforms.
Common Drone Editing Mistakes
One common mistake is using every clip recorded during the flight. More footage does not necessarily create a better video. Select only the strongest shots.
Another mistake is excessive use of transitions and effects. Simple cuts and smooth movement often look more professional.
Over-saturated colors are another problem. Strong colors may look impressive at first, but they can quickly make footage appear artificial.
Editors should also avoid using music that does not match the visuals. The soundtrack should support the emotion and pace of the video.
Finally, avoid making every clip the same length. Varying shot durations can create a more natural rhythm.
Tips for Professional Drone Editing
Always shoot with editing in mind. During the flight, capture different types of shots, including wide views, close approaches, reveals, orbit movements, tracking shots, and pull-away shots.
Leave enough time before and after the main movement so you have flexibility during editing.
Shoot during golden hour whenever possible for beautiful natural lighting. Sunrise and sunset can produce soft shadows and attractive colors.
Keep camera movements slow and controlled. Smooth footage requires less correction during post-production.
Most importantly, focus on storytelling. A technically perfect drone shot is useful, but a sequence of shots that communicates a story is much more powerful.
Download App
Prompt :
Use the attached image as the starting frame. The red line represents the drone flight waypoints and trajectory only, while the white arrows represent the camera viewing direction only. These are production guides, not scene elements, and must never appear in the final animation. Remove all guides before the animation begins and reveal the clean underlying image.
Create a single continuous aerial drone POV that flies along the exact path defined by the red waypoint line, matching its route, curves, movement direction, and endpoint as closely as possible. Throughout the entire flight, orient the camera according to the white directional arrows, ensuring the drone follows the red path while the camera continuously looks where the white arrows indicate, naturally keeping the subject framed at all times.
The drone trajectory and camera orientation are the highest-priority instructions and must be followed exactly, even when the movement path and viewing direction differ. Use smooth, cinematic drone motion with realistic inertia, gentle banking, and natural acceleration and deceleration, with no cuts, teleports, or sudden camera swings.
Preserve the original scene exactly as shown without modifying the environment, lighting, subject, composition, or any objects. The only change should be the realistic drone movement following the red waypoint path while the camera continuously follows the white viewing directions.
Produce clean, photorealistic footage with no visible guides, annotations, arrows, lines, overlays, graphics, text, or watermarks in any frame.
Final Thoughts
The art of drone shot editing is a blend of technical know-how and creativity. Once you’ve captured aerial footage you have to convert it into something usable.Capturing aerial footage is just the first step. The professional editing process helps to combine those clips together and transform them into a movie experience.
Begin by editing out any unnecessary elements and highlighting the best footage. Then use smooth cuts, appropriate transitions, speed changes, color correction, music and sound effects to build a story. Limit your props and concentrate on making the shots appear natural and interesting.
By practicing regularly, you can master editing and make an air video for YouTube, Instagram Reels, TikTok, travel blogs, adverts, weddings, real-estate videos and personal projects.